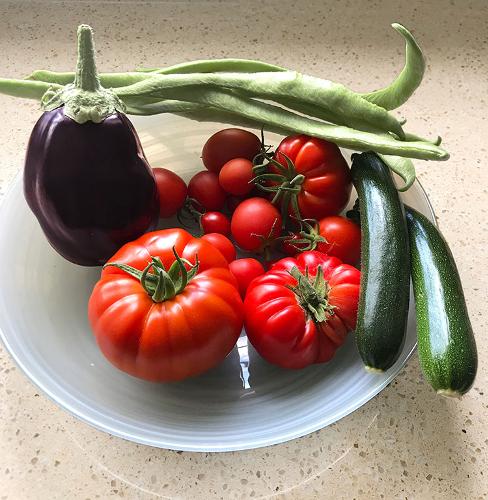
As a Garden Designer, I spend more time ‘thinking about' and ‘working' in customers gardens than I do my own. This goes with the territory and it's worth it, as I visit so many different gardens and meet many interesting people. When I do get the chance to spend time in my own garden in Essex, I try to make the most of it. I recently published a blog on my website on dividing perennials but if you're starting from scratch there is also a great deal of satisfaction in growing plants from seed. So, I thought I'd pass on my own experience of growing plants from seed.
Growing plants from seed generates a huge amount of satisfaction and (to be fair) some learning too. Its also true to say that for me ‘disappointment' has been quite rare and I'm no ‘Carol Klein'. Experience tells me that most gardeners who grow plants from seed, grow vegetables and annuals, which is fantastic and very satisfying, but another great benefit is that you can also grow some quite unusual plants that you may not find in every nursery. Last year, along with my vegetables, I managed to cultivate some Perovskia ‘Blue steel', which is a smaller, lower growing cultivar of the more common ‘Blue spire'. So, if you're looking for something a bit different have a hunt around the web to find the right supplier.
While on that subject of suppliers I would recommend sticking to the well-known seed producers, as I tried some from a supermarket chain without much success.
These are my tips for growing plants from seed
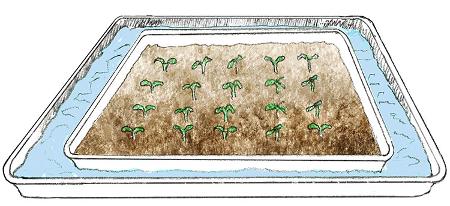
1/. I use a mixture of trays and small pots when sowing seed and whether it's a tray or pot tends to be a decision based around the size of the eventual plant, how many you want to grow and the space you have to grow them. If I'm using pots I tend to opt for 9cm square ones as these fit better in watering trays. Trays can be sold with clear perspex covers, with vents, which are a great asset. More recently I have seen seed trays that are built specifically for windowsills. They can also be heated.
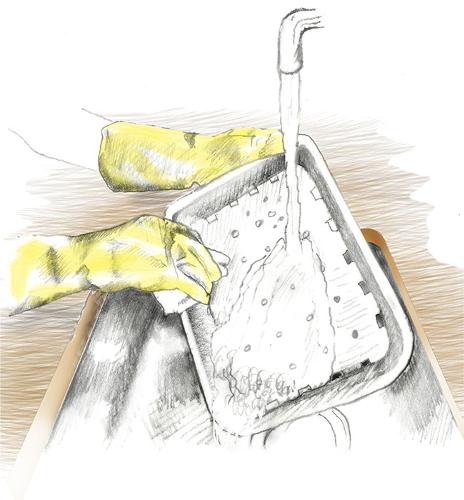
Whatever receptical you use it should be spotlessly clean. Clean pots, tray etc thoroughly in a bucket of soapy water or a disinfectant solution, ensuring any residue earth or old compost is scrubbed away. Rinse thoroughly and allow them to dry
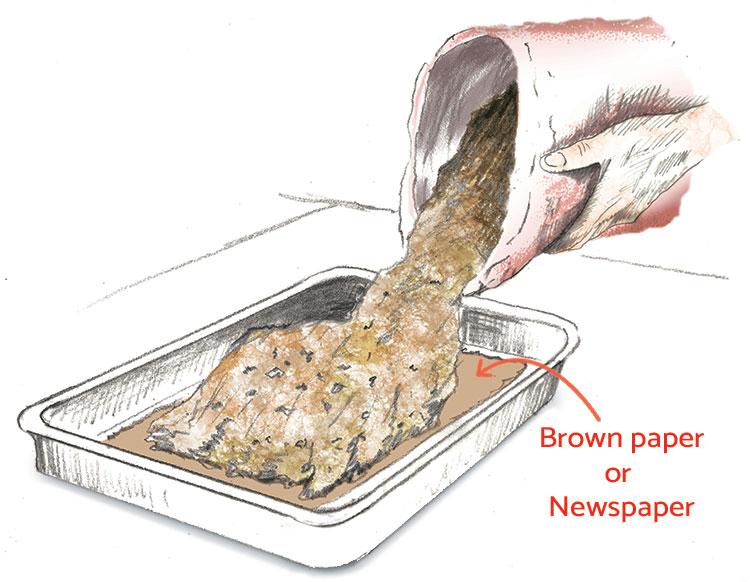
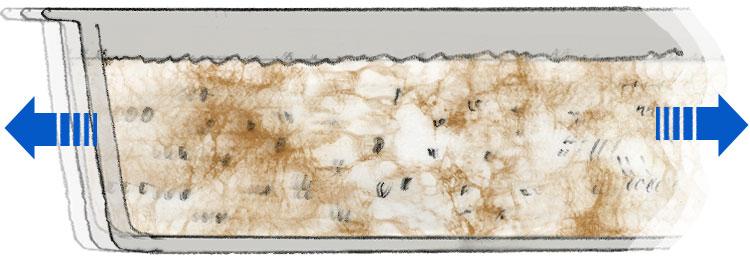
2/. If using a tray you can lay a sheet of brown paper or newspaper in the base to prevent the new compost from falling through any drainage holes. This does not affect drainage.
I use a seedling compost but Whatever you choose to use, it's important to ensure that the compost has the right amount of drainage.
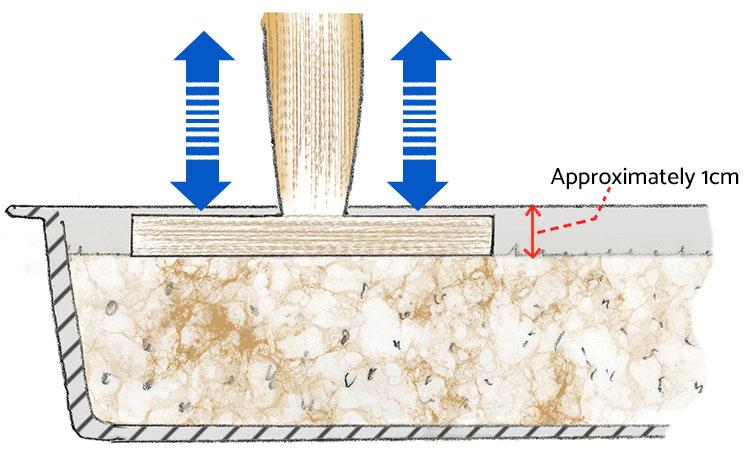
3/. level the surface of the compost by shaking the container slightly from side to side and gently ‘tamp' the surface to eliminate any air pockets
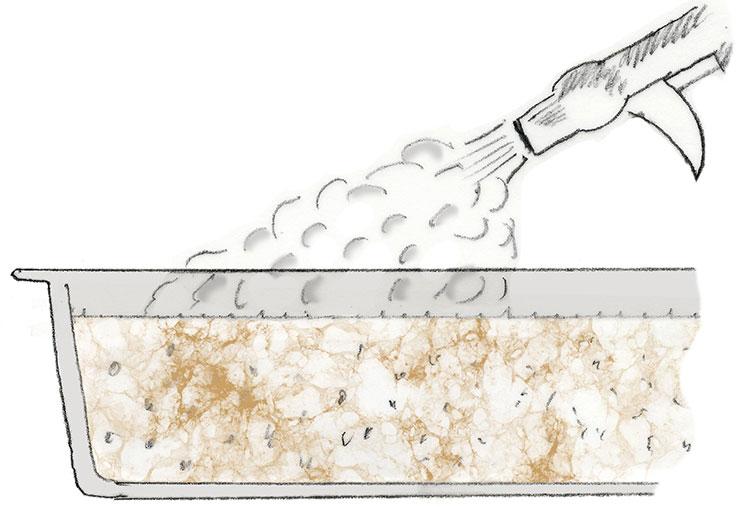
4/. Lightly moisten the surface with an atomiser. It is always better to use an atomiser when watering seedlings as this ensures the watering is very light and not likely to wash the seed or seedlings away, as would happen if using a watering can, even with a fine rose spray.
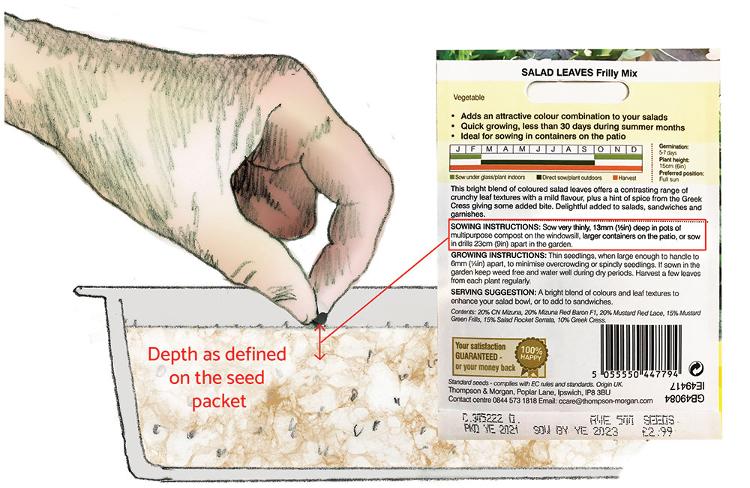
5/. With the compost now prepared, sowing of the seeds can take place. The spacing and depth of how the seeds should be sown will depend on the variety but the information on depth and spacing should be detailed on the seed packet.
6/. Unless the seeds are to be sown on the surface cover the new seeds with a thin layer of compost or even fine horticultural grit.
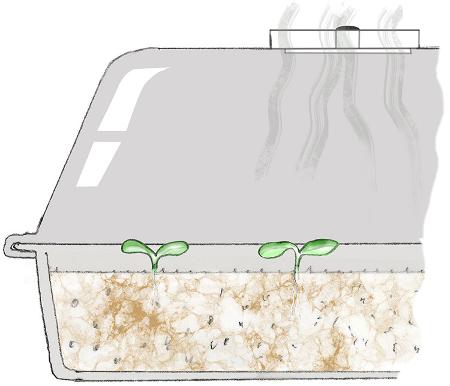
7/. The trays then need to be placed on a bench in a heated greenhouse or on a south facing windowsill. Last year I used heated mats in my green house, which worked really well, but check all pots or trays daily to ensure they do not dry out.
As soon as the seedlings appear any air vents to the clear plastic cover should be opened to allow for air circulation. This is important as airflow prevents the build-up of pathogens such as certain molds and bacteria, caused by the plants own transpiration process. After a few days the clear plastic cover can be removed completely during the day.
8/. Once the seedlings are growing rotated the tray every couple of days, especially if they are grown on a windowsill in a house, to ensure the seedlings do not bend over and grow towards the light. This is known as Phototropism.

Watering should continue to be done with an atomiser or you can place the tray into a larger tray filled with a few millimetres of water for a few minutes to allow the water to “wick” up through the holes in the tray into the compost.
Make sure the soil does not become waterlogged.
'Pricking out'
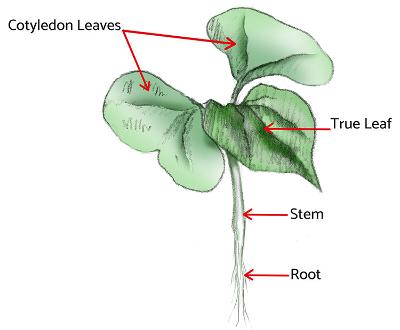
As they start to grow, seedlings first develop what are known as ‘Cotyledon' leaves. These leaves are the part of the embryonic cycle of the seed. The purpose of these leaves is to provide fuel to the rest of the plant during its initial growth as the root system develops. Once the plant develops true leaves and can sustain itself the Cotyledon leaves drop off.
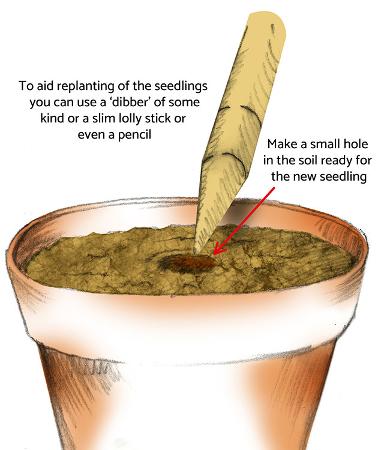
Once the seedlings have developed their first ‘true' leaves, the seedlings can then be potted on into larger pots. Steps 1 to 4 need to be followed again with any “growing on” pots. Once prepared and filled with the correct compost mixture, allowing for good drainage etc, make a small hole in the centre of the compost with a ‘dibber' or similar implement.
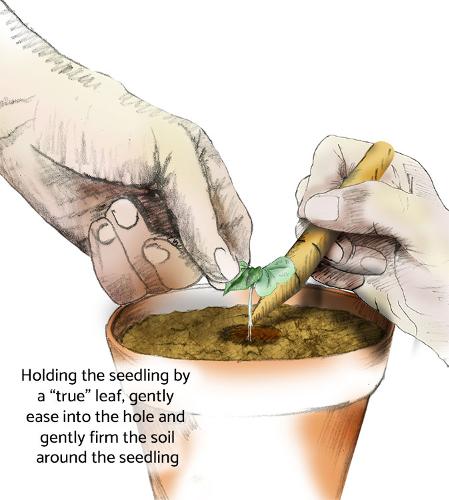
Then holding the seedlings very gently by one of the ‘true' leaves ease the seedling out of the compost in the starting tray using a small spoon like paddle (a lolly stick is ideal). Guide the new root into the hole made in the compost in the new pot and with your other hand gently firm in the seedling with the dibber.
Never hold the seedlings by the stems as this could crush the stem and kill the seedling.
Once in the new pot, protect from ‘direct' sunlight for a couple of days and ensure the new potted seedlings do not dry out.
When the seedlings have recovered from the stress of being re-potted, they will soon start to grow on. If the seedlings are outdoor plants, give them a chance to develop a bit further and then harden off in a cold frame outside, ensuring they are protected from any late frosts. If they are tender plants destined mostly for the greenhouse they can be sited where you need them to develop. Watering can be done via a normal watering can with a fine rose spray.
You do have to commit to their care initially and obviously watering is important and over watering is possibly the worst thing you can do. I use capillary matting to aid watering once the seedlings have been transferred to pots.
Anyway, have a go and good luck!!!